

1
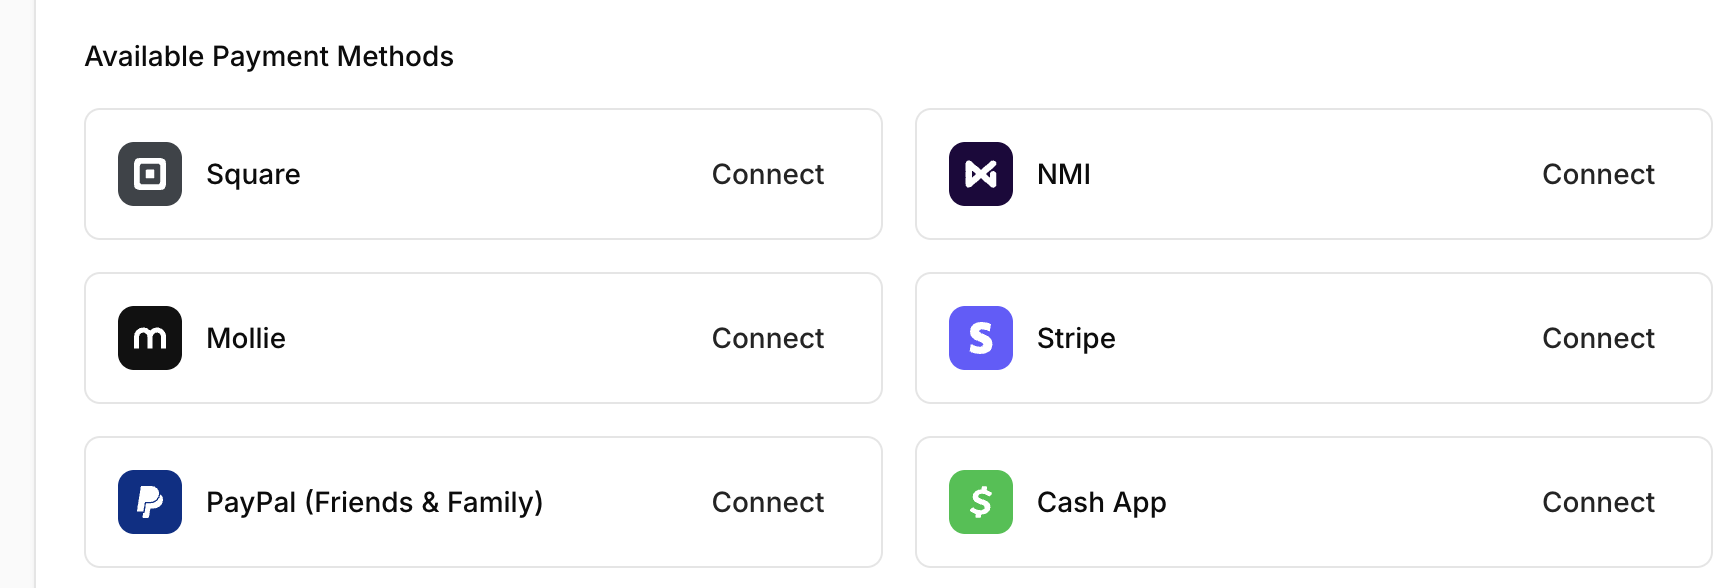
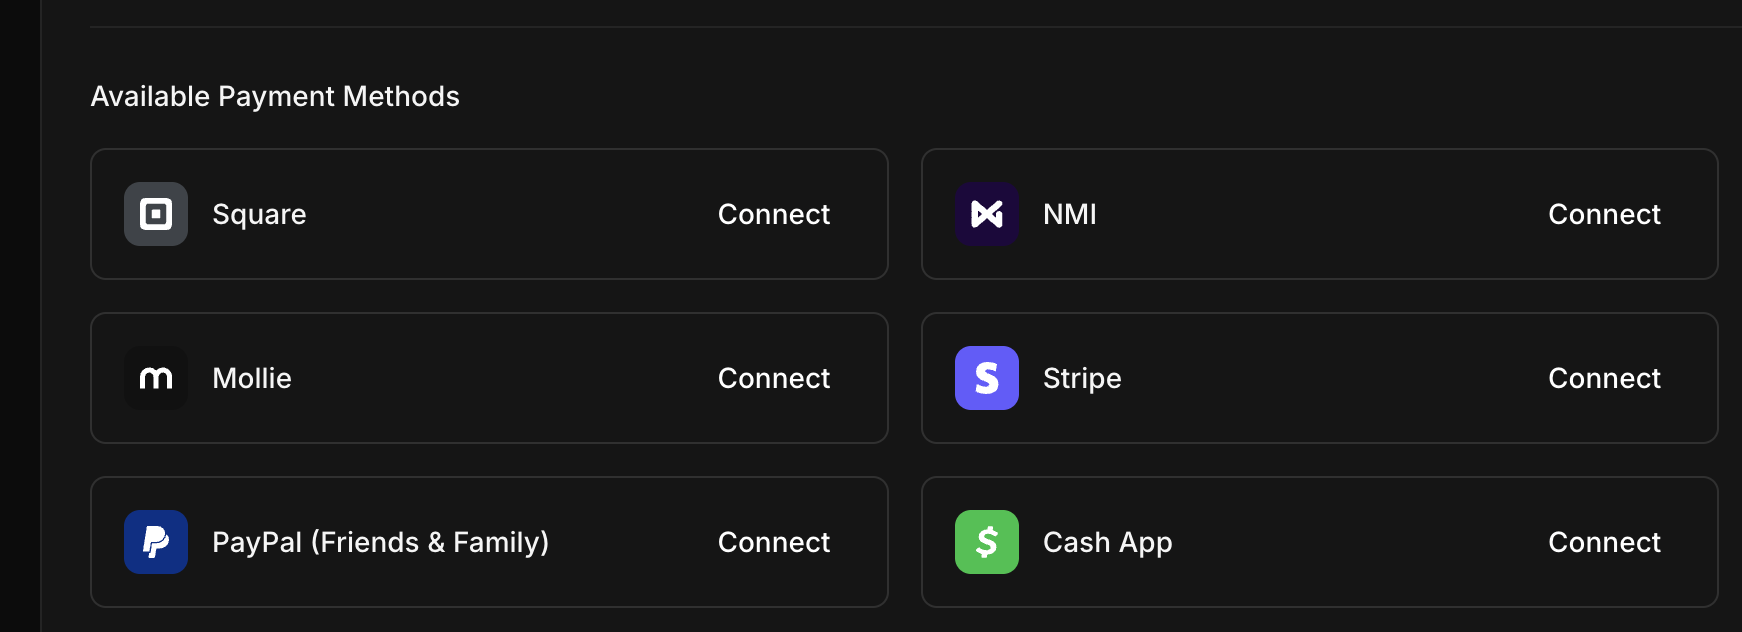
Connect Cash App
2
Configure Settings
In the dialog box, enter the following details: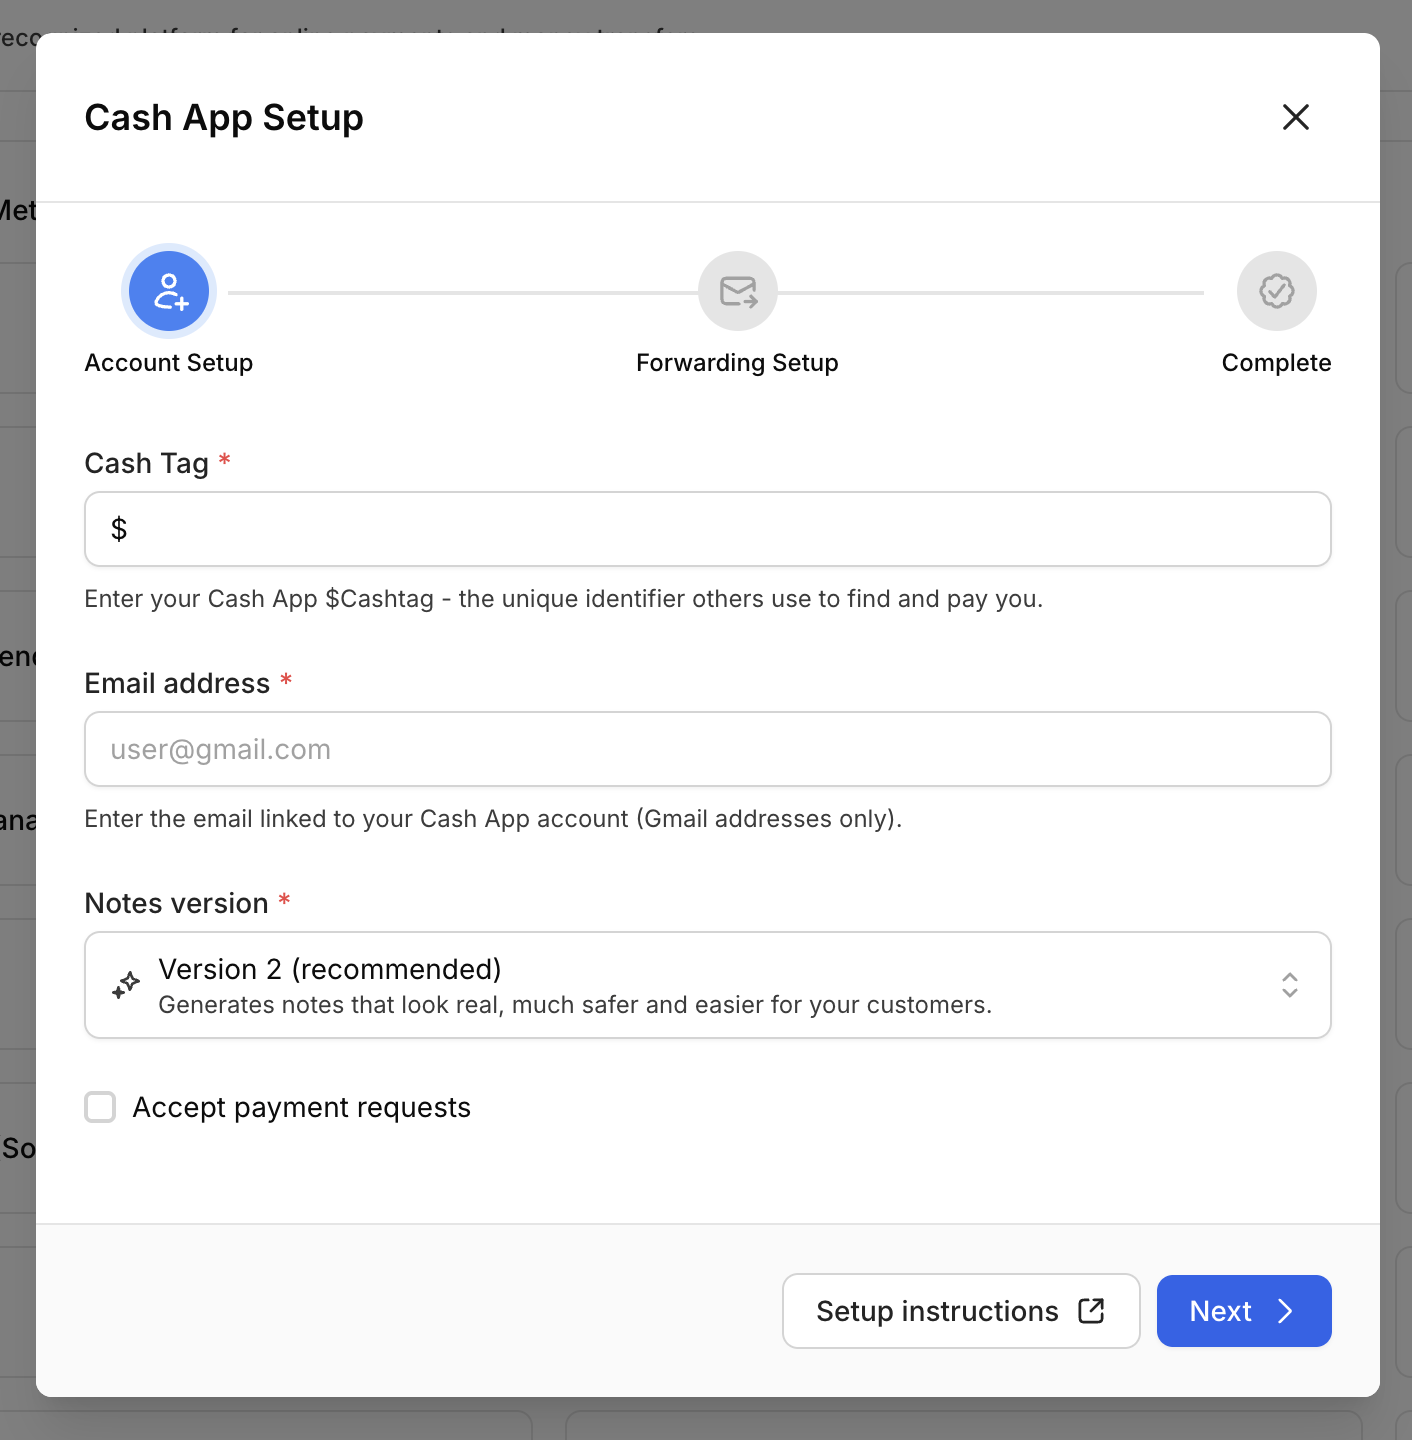
- Cash Tag: Enter your unique Cash App tag (e.g.,
$YourName). - Email Address: The email associated with your Cash App account that receives payment receipts.
We highly recommend using a Gmail address. Other email providers may not be supported or may experience delivery issues.
Advanced Options
Notes Version
Notes Version
Version 2 (Recommended): More realistic notes that are harder to detect, helping to reduce the risk of account bans.
Version 1: Basic notes. Use only if you have a specific preference.
Accept Payment Requests
Accept Payment Requests
Enable this if you want Komerza to automatically try to accept payment requests.
3
Setup Email Forwarding
After clicking Next, copy the unique forwarding email address ending in 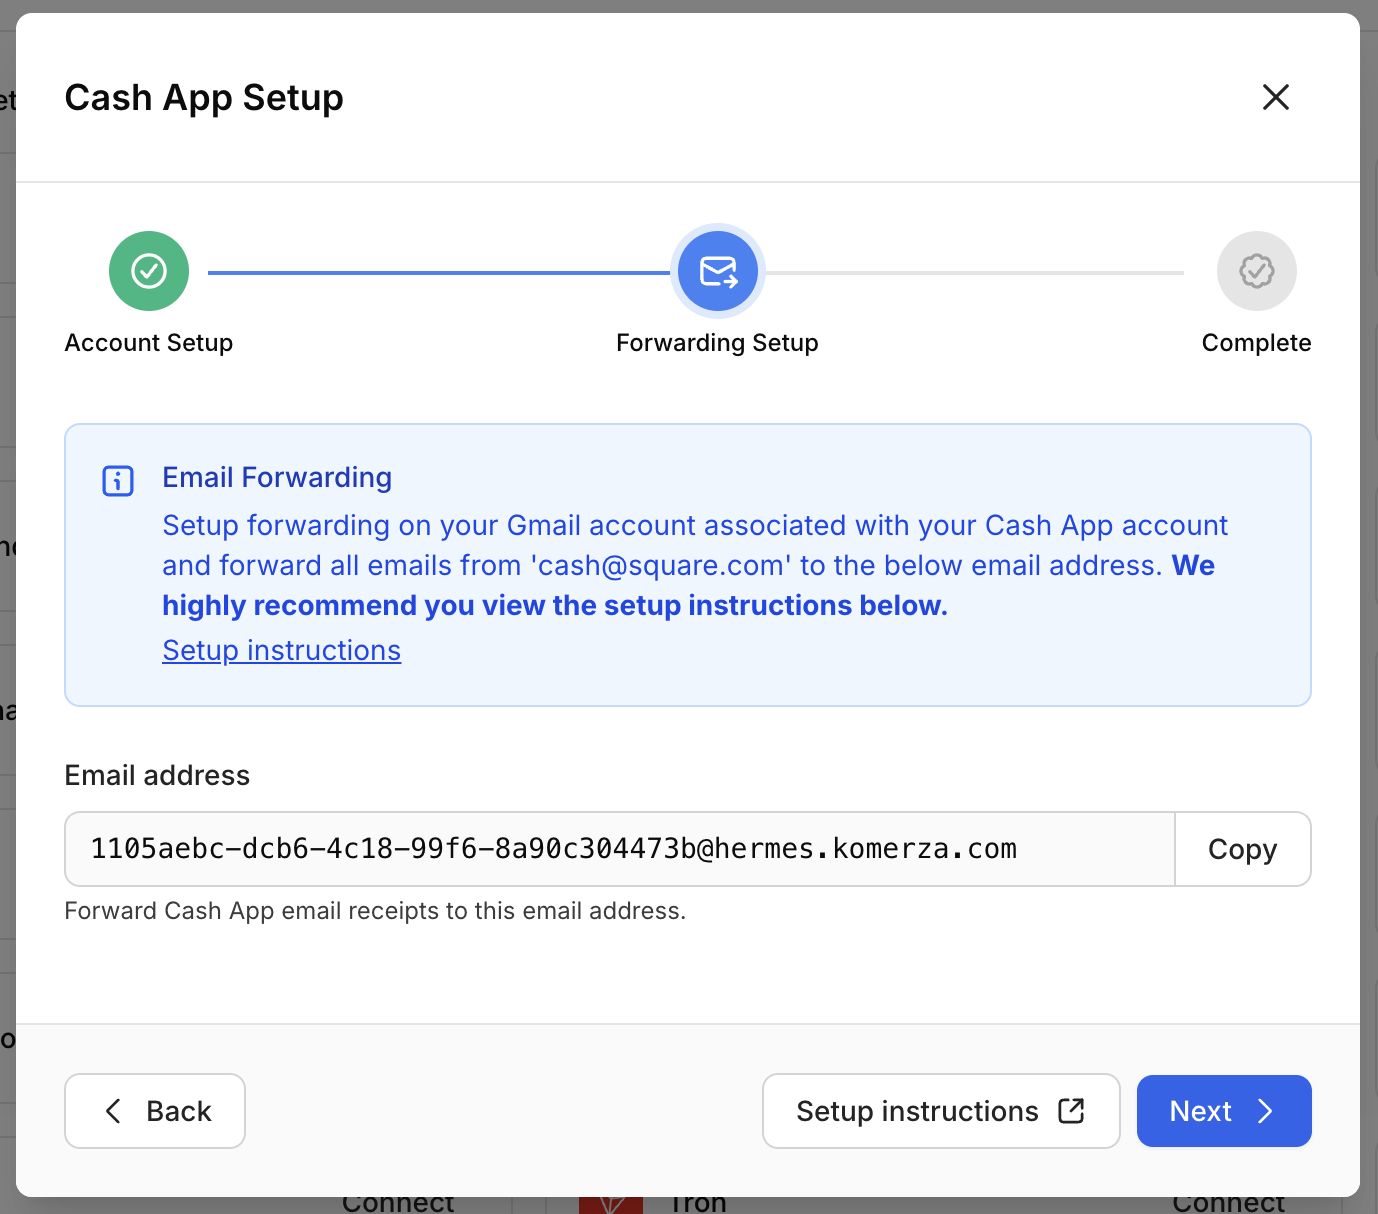
@hermes.komerza.com.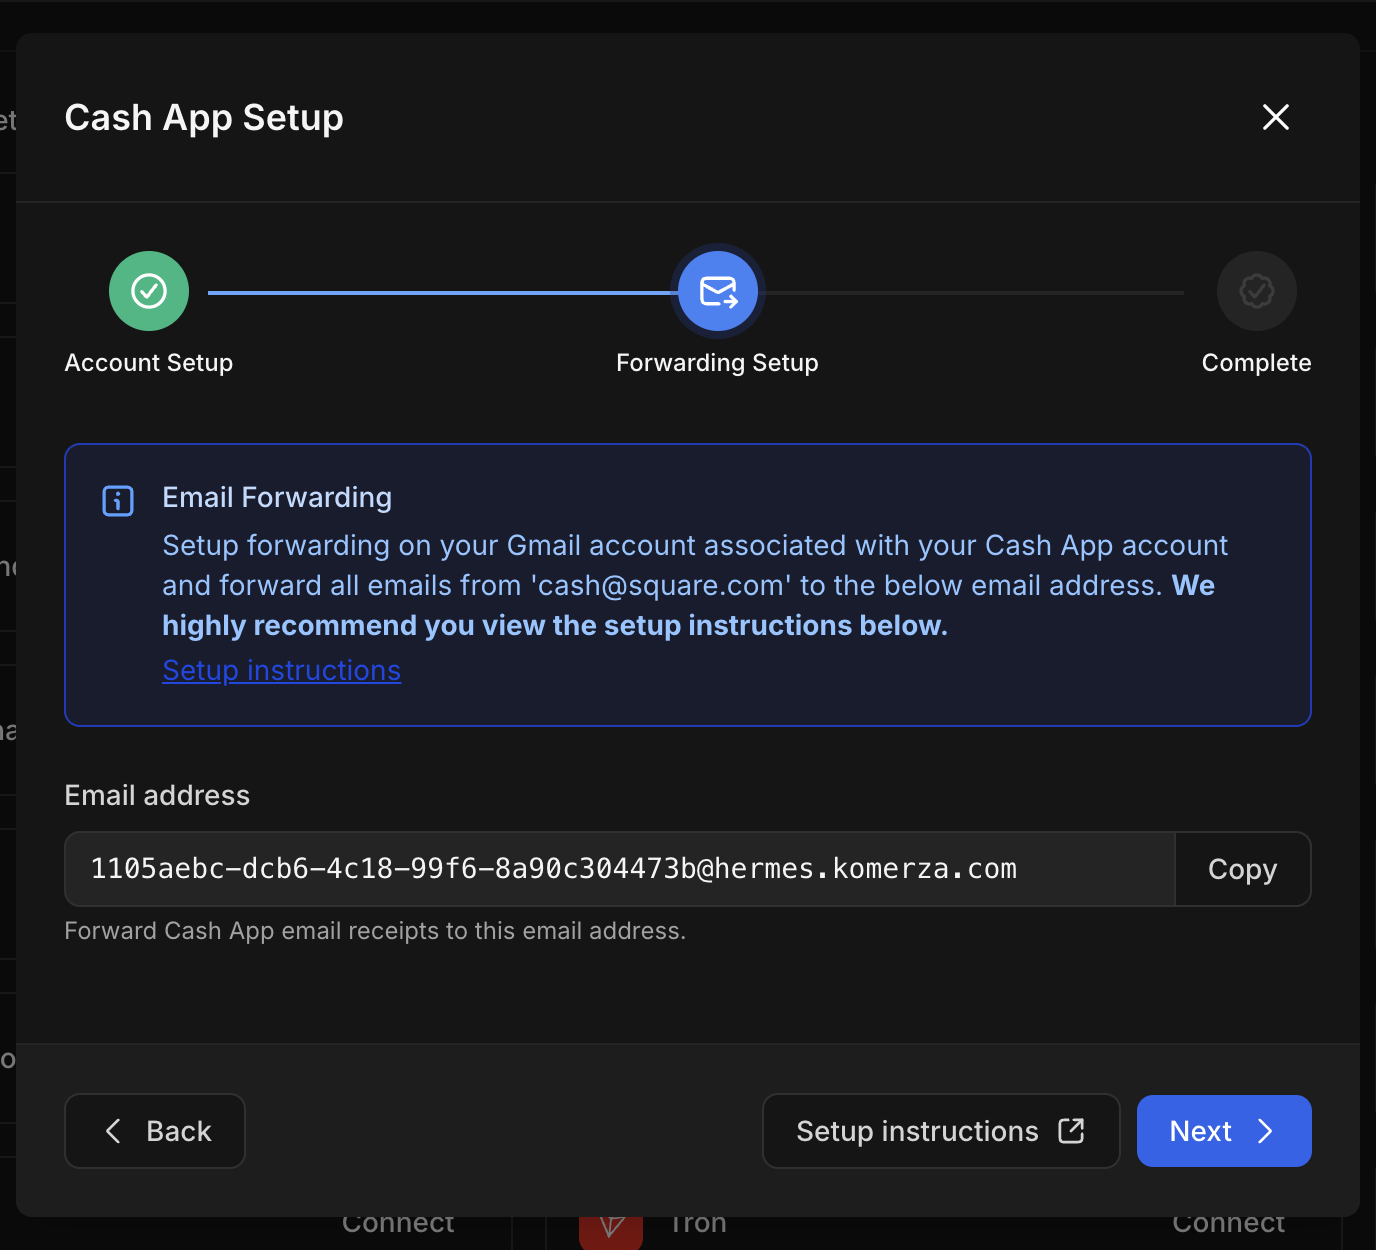
Add Forwarding Address in Gmail
- Login to Gmail and go to Settings > See all settings > Forwarding and POP/IMAP.
- Click Add a forwarding address, paste the
@hermes.komerza.comaddress, and click Next. - Complete the Google identity verification step.
- Check your inbox (or spam) for the confirmation email and click the confirmation link.
Configure Forwarding Filter
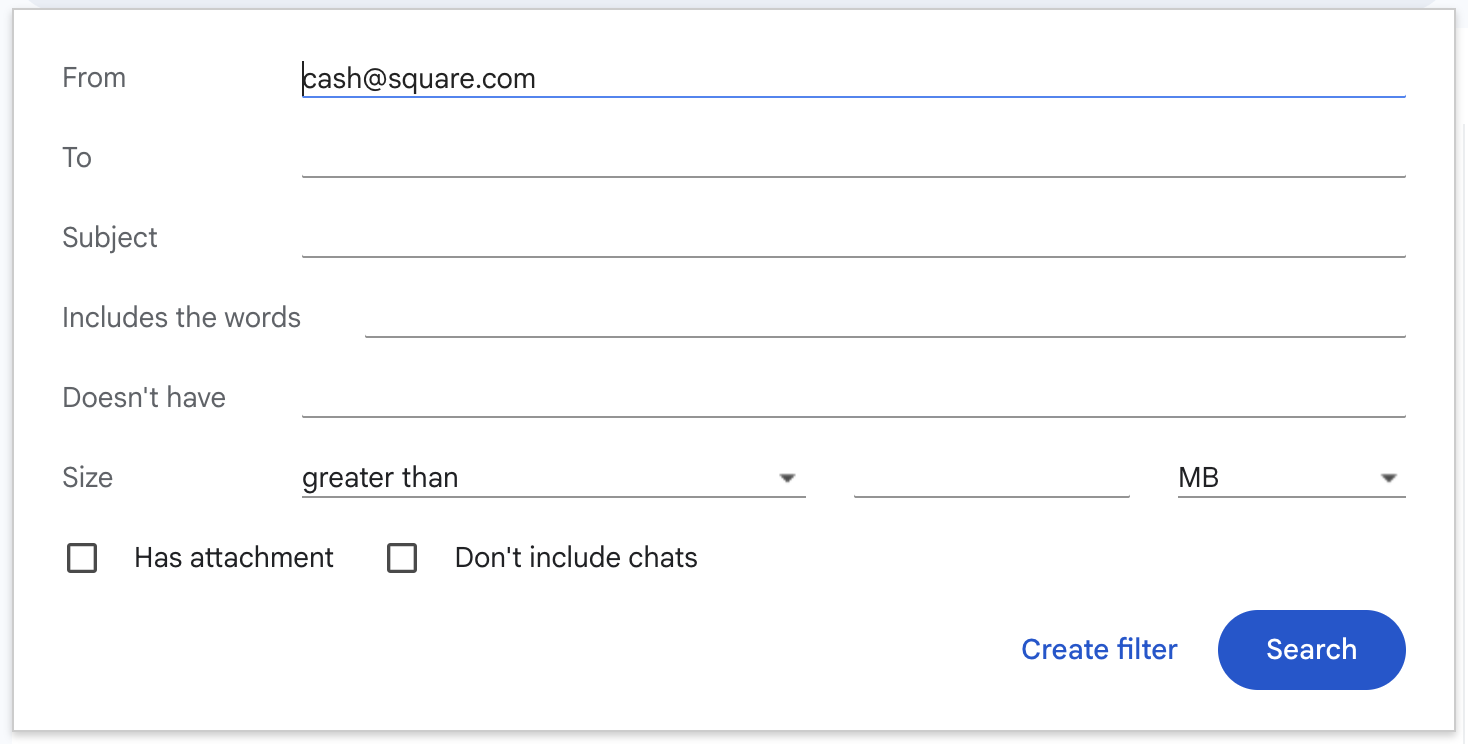
- Click “creating a filter” link in the “Forwarding” section.
- Set From to
cash@square.com.
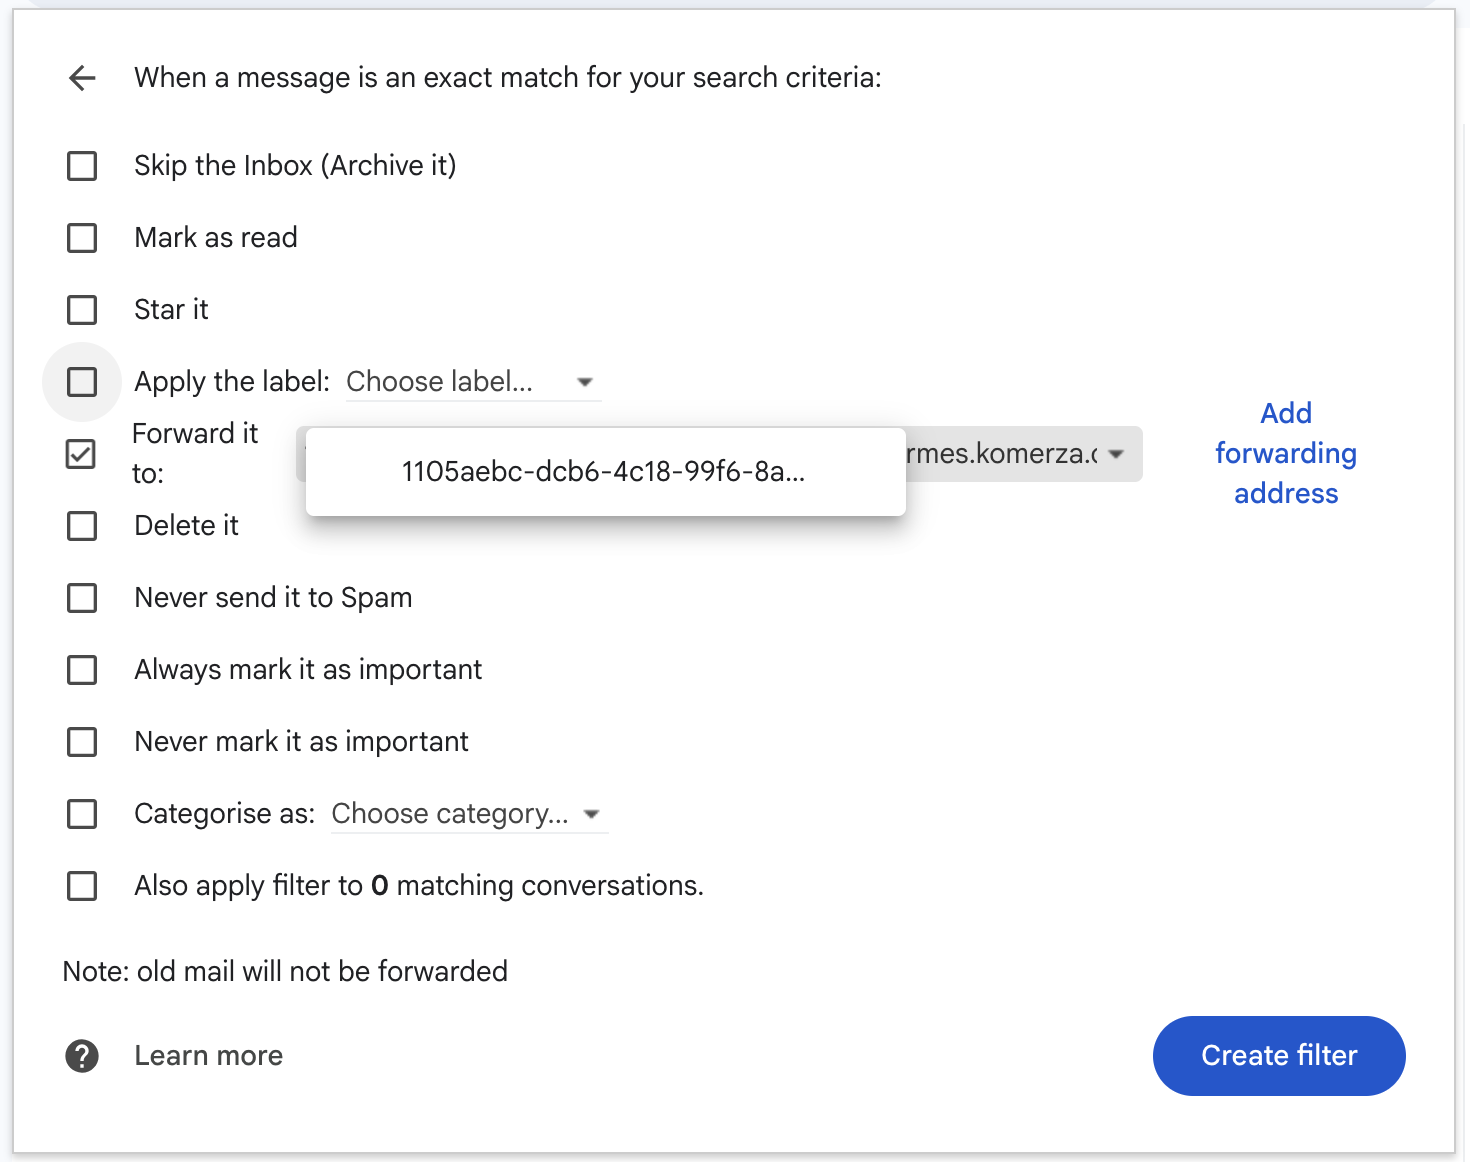
- Click Create filter.
- Check Forward it to: and select the hermes email address.
- Click Create filter to finish.
4
Test the Integration
Your Cash App integration is now set up!We strongly recommend making a $1 test payment on your store to confirm that the system correctly detects the payment and marks the order as paid.